Making Lumen Prints – An Isolation Project
These unprecedented times are a call for artists to step up and help deter against feelings of restlessness and boredom. These are just some suggested ideas that you might want to try.
Through my modest Instagram presence and blog I’ve tried to do something for the international arts community and here is something that has worked out quite nicely and is extremely easy to perform. This is just one activity and I know there are a plethora of others out there as well; hope this one may brighten your day and those around you 😊
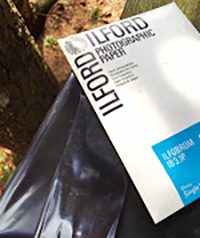
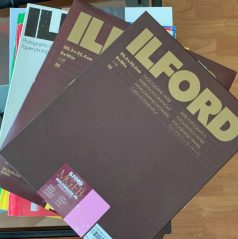
If perchance you just happen to have some old photographic paper stowed away, this little project is something you might find interesting.
HOW TO MAKE YOUR LUMEN PRINT
- Step 01 – Take out an unused photo frame and remove the backing.
- Step 02 – Place some small, soft organic matter on the glass face of the frame you may choose to be creative and think of other things that could be
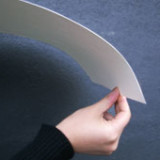
used that when compressed will not break the glass, please be careful. - Step 03 – Place the photo paper with the shiny side/matt side facing the items on the glass, i.e., the side that would normally be exposed when making a darkroom print.
- Step 04 – Replace the backing into the picture frame and compress the items between the glass and photo paper.
- Step 05 – Place the picture frame in direct sunlight for about 90 minutes.
- Step 06 – Carefully remove the photo paper from the frame and give the paper a quick water wash if it contains particles from the organic materials.
- Step 07a – If not concerned with image permanence: place the photo paper into a scanner to make a digital image or take a picture with a mobile phone.
- Step 07b – If you want a permanent image, after washing the print, place it into a photographic fixing bath for about 2 minutes.
- Step 08 – Thoroughly wash the print for at least 10 minutes in a tray of running water. Empty and fill the tray several times during the wash.
- Step 09 – Hang print to dry.
- Step 10 – To flatten the print you might consider pressing it between heavy books for a few days and then place in a mat and frame to hang on your wall or perhaps give as a gift.
SOME PICTURES TO ILLUSTRATE THE PROCESS
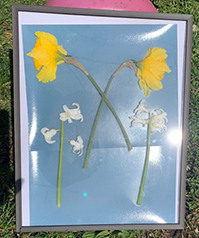
Organic items placed on paper in a frame exposed in sunlight
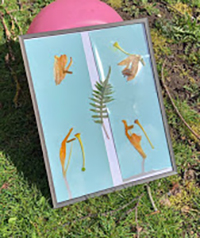
Organic items placed on paper in a frame exposed in sunlight
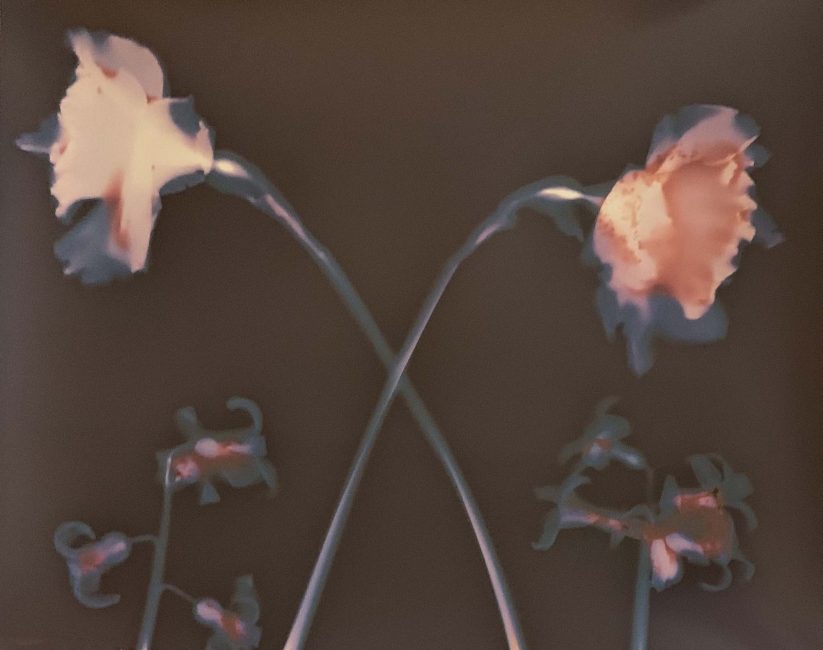
Before processing in fixer – straight out of the frame
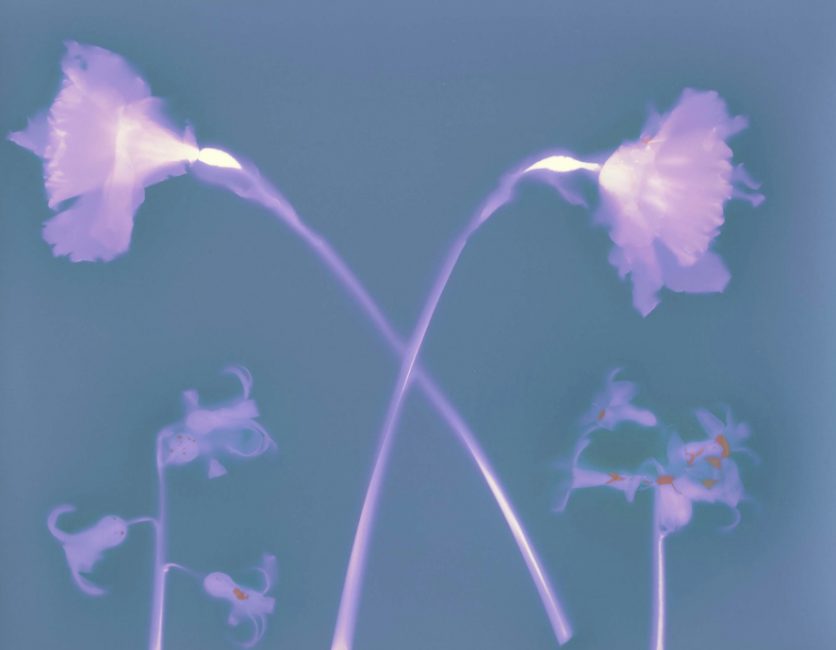
After scanning the original, there is a lot of freedom in how one can manipulate the print with brightness and contrast.
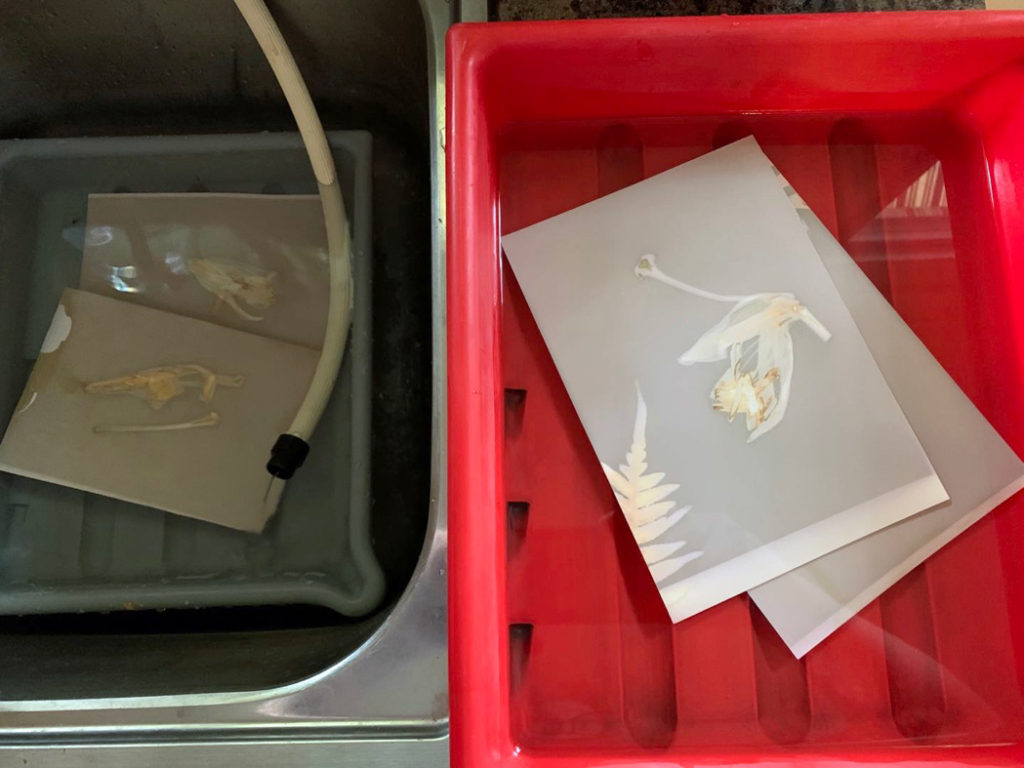
Washing and fixing the lumen prints. Notice how the overall contrast/colour changes with fixing
THE END RESULTS
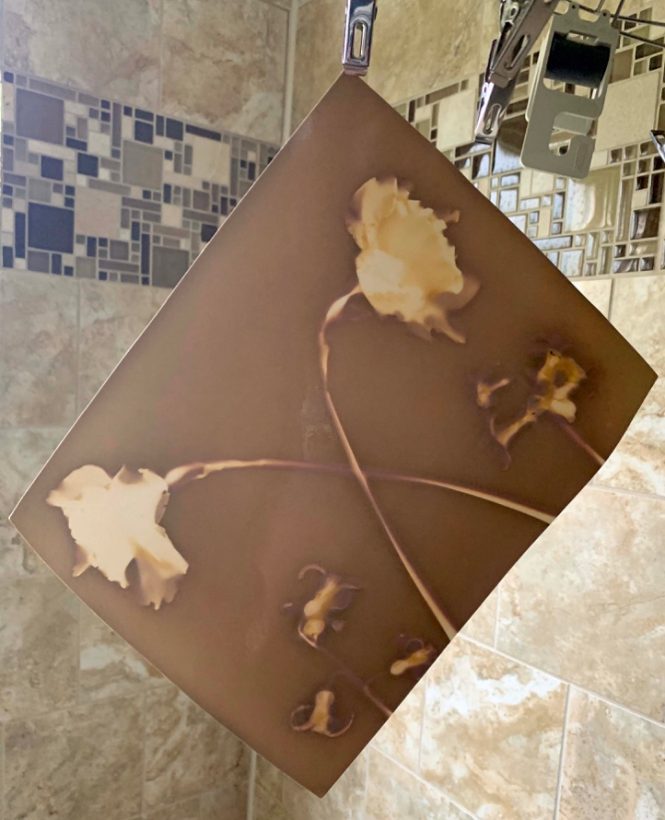
A fixed print drying
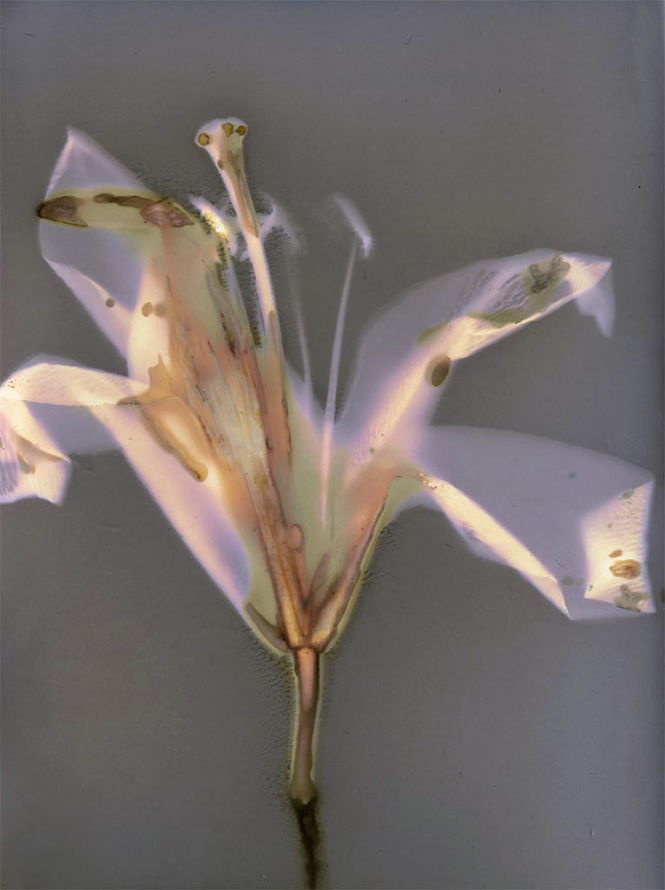
A dry print ready to matt, frame and hang on a wall
ABOUT THE AUTHOR
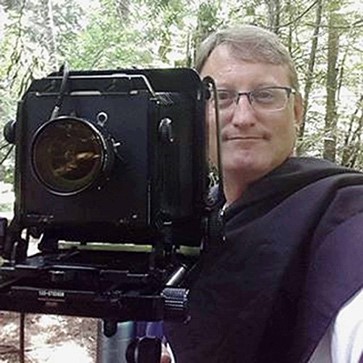
My motto is, “Follow the LIGHT.” which is the nexus between light as it relates to my faith and as the essence of the photographic image. I strive to make images that reflect light’s nuances in patterns, shapes and the colours of life that call to my inner eyes. Although familiar with digital I only employ it from time-to-time, since I primarily work with medium and large film format lens and pinhole cameras. I also enjoy the challenge of constantly working to better myself not only as a photographer but as a darkroom craftsman from processing film to printing archival silver gelatin fibre black and white prints.
Photography has become a part of my very fabric and I’ve also come to appreciate the therapeutic aspects it offers especially when crafting prints in a darkroom. My practice is to share visual representations through analogue imaging, from landscapes to city streets. I still find it exciting to learn new things such as lumen printing and welcome various challenges as I continue to follow the Light …
Find out more more and follow Bob at the links below


